Start with a sound base, plan the support lines, and make takedown part of the setup. If yours has fallen, jump straight to the broken-part checklist.
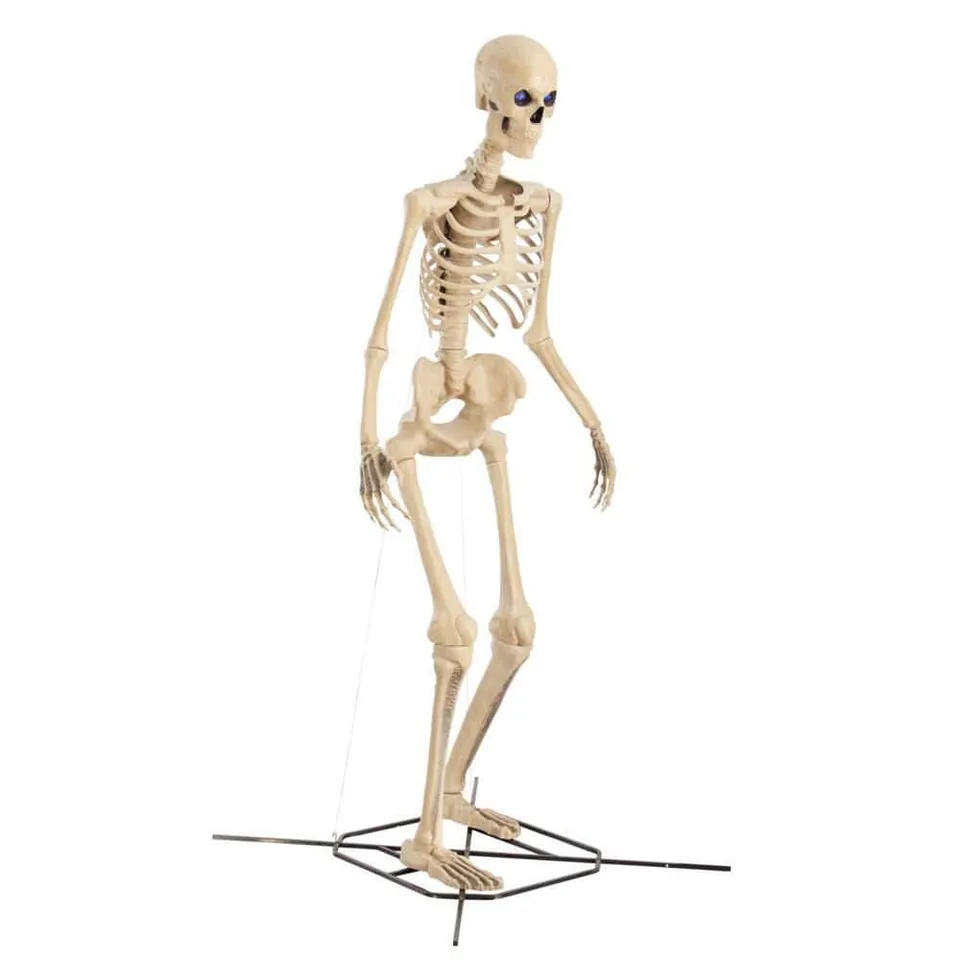
Classic Skelly product photo: The Home Depot.
A practical setup sequence.
Identify your model. Classic Skelly 24SV24386 and animated Skelly 26SV25555 use different assemblies. Lay out the matching manual, parts and supplied supports.
Inspect before lifting. Look for cracked connectors, bent base sections, loose fasteners and damaged wires. Set aside damaged parts for replacement. Assemble with the helpers and sequence specified in your manual.
Plan the whole footprint. Choose a level, permitted surface. Allow space for the figure, support lines and ground anchors, away from paths and parked cars. Locate utilities and irrigation before driving stakes.
Secure and recheck. Install every supplied support in the specified locations. Check that joints and pins are fully seated. Recheck loose lines, shifted anchors and softened soil after rain or movement.
Adding support: the four-line community approach.
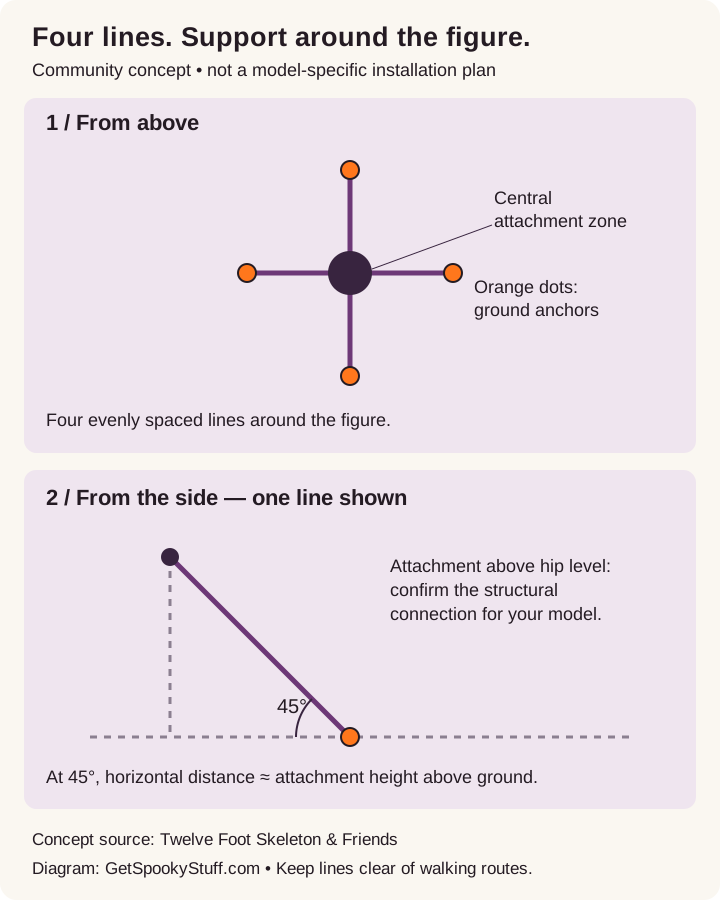
Twelve Foot Skeleton & Friends describes four evenly spaced guy lines, running from just above the hips toward ground anchors at roughly 45 degrees, and links a purpose-made attachment bracket. This spreads support around the figure instead of relying on weight piled on the base.
Diagram: Spooky Stuff, illustrating the attributed community approach. Connection dots are schematic, not instructions to fasten to a bone. Confirm your model’s structural attachment before using supplemental lines. Open full-size diagram.
The decision before buying: verify an attachment bracket or structural connection for your exact model. Do not tie extra cable to decorative bones or moving joints. Once the connection is confirmed, measure the line runs and choose anchors for your soil. The linked owner guide shows its example arrangement.
Weather plan: take the display down before severe weather while conditions are calm enough to work. Extra anchors and cable do not give the complete display a tested wind rating.
Anchors, cable & the tool to finish the loops.
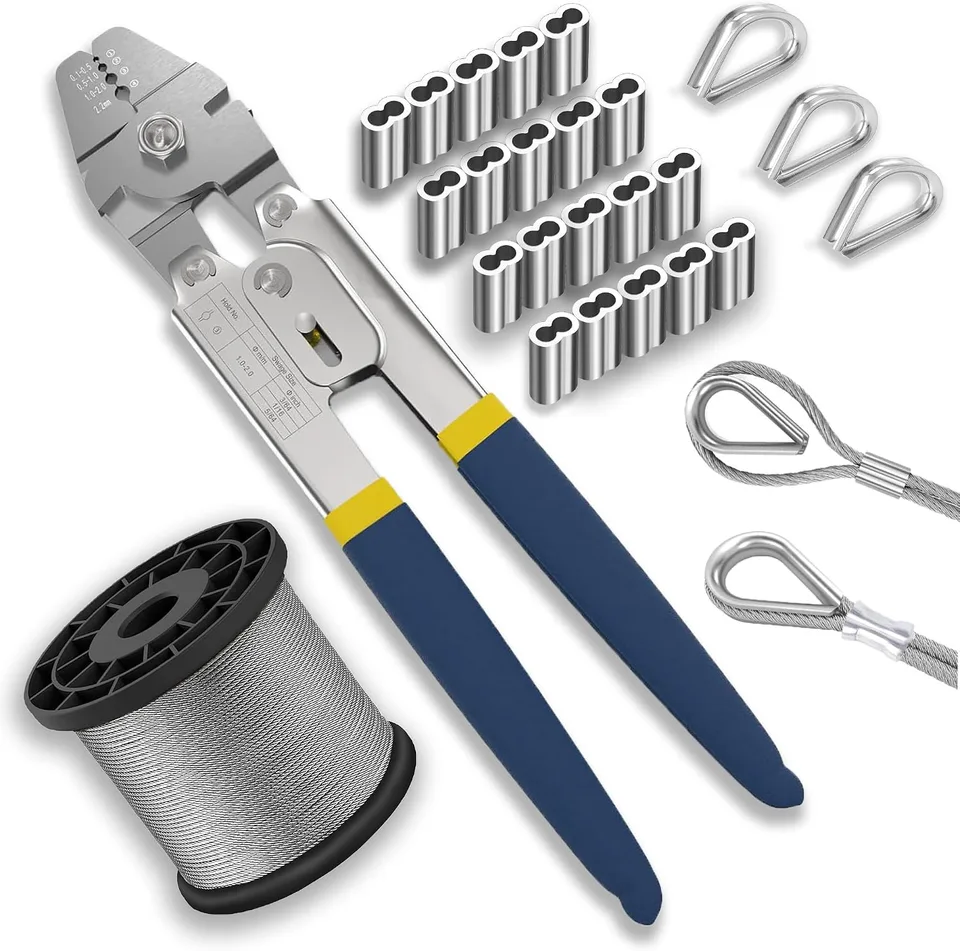
Choose an anchor size for your site, then account for the cable and its end fittings. Starting from scratch? The YingYa BIS kit includes cable, sleeves, thimbles and a crimping tool, sold together with illustrated loop-making directions. Choose the separate swager only if you need a tool for other compatible ferrules; do not buy both by default.
Affiliate disclosure: We may earn a commission from purchases through retailer links, at no additional cost to you. As an Amazon Associate I earn from qualifying purchases.
AMAZON ANCHOR OPTION
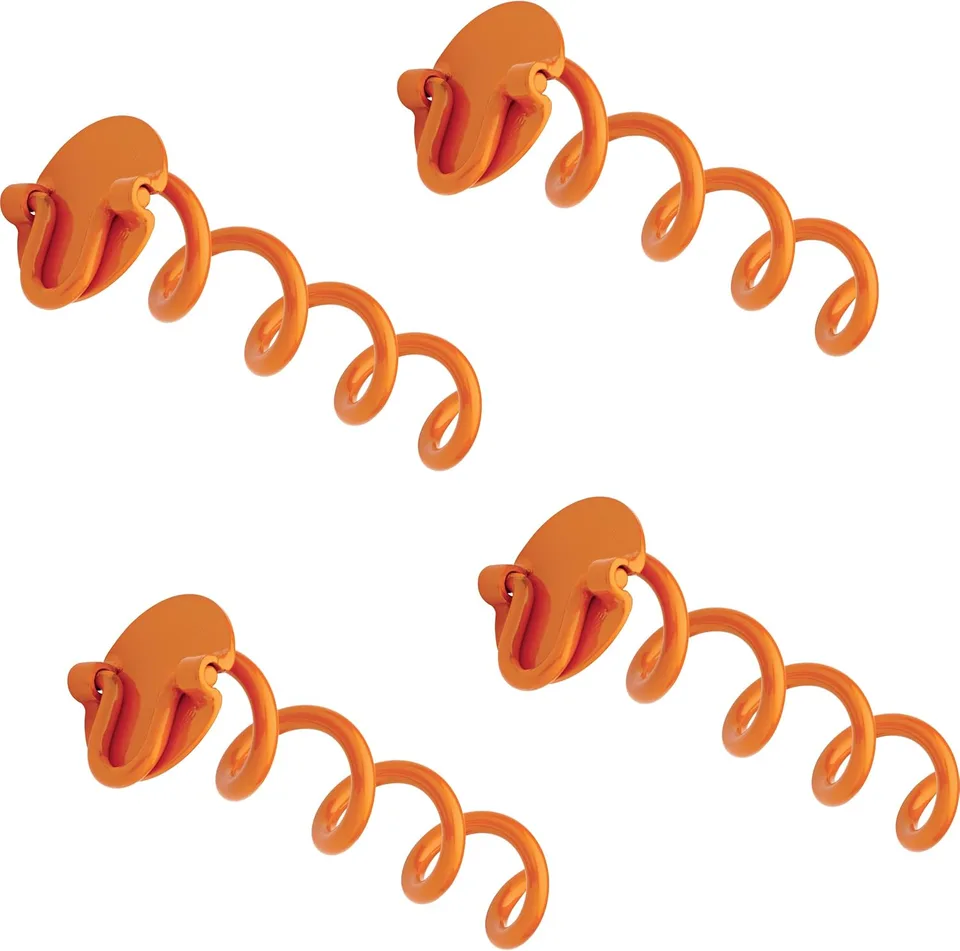
Vortex 10-inch spiral anchors · 4-pack
10-inch steel screw-in anchors · folding rings · four included
Why consider it: Choose this four-pack when you need 10-inch screw-in anchors for an outdoor display. Folding rings provide connection points for your support lines.
Before buying: Match the anchor to your ground and the prop’s attachment system. Keep the whole line footprint outside walking routes.
Model ANCFR10-ORG-R · Photo and listed specifications: Amazon product listing.
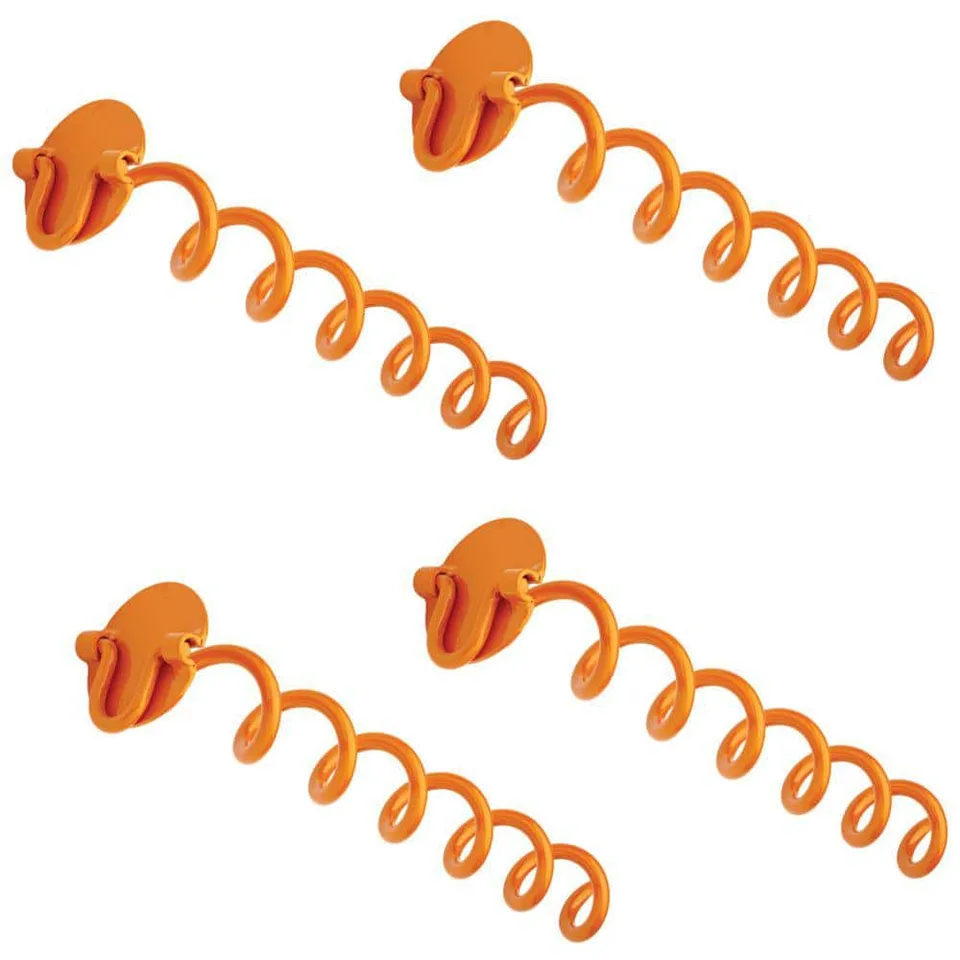
16-inch steel screw-in anchors · folding rings · four included
Why consider it: Choose this set when you need the deeper 16-inch screw-in option. The listing specifies normal and compact soil; use the full installed length when planning placement.
Before buying: Check for buried utilities and irrigation before installation. Loose or saturated ground can reduce holding power.
Model ANCFR16-ORG-R · Photo and listed specifications: The Home Depot.
Amazon alternative: Vortex 16-inch anchor · single-pack. Model ANCFR16-ORG-A. Sold individually, unlike the Home Depot four-pack shown. Four individual anchors supply the four anchor points in the illustrated method.
Why consider it: A single purchase for cable and loop-making hardware. The seller supplies these parts together and illustrates forming a loop around a thimble with the included tool. No separate swager purchase is needed for this kit.
Before buying: Follow the seller’s loop-making directions. The listing does not establish a working-load limit for completed loops; confirm suitability for your supplemental support arrangement.
Model Amazon ASIN B0CZ8QNFVY · Photo and listed specifications: Amazon seller listing and illustrated directions.
Already own ferrules? Compare a standalone lifstar swaging tool at Amazon. Match the tool to your ferrules and skip it if you are buying the bundled kit.
Primary buttons open the pictured products. Amazon alternatives identify any different brand, model or pack size; check the selected variant and included parts before buying. Component pull-force and breaking-strength figures do not describe the capacity of the complete installation.
Skelly fell over or a part snapped?
Keep people clear and disconnect power when safe. Support and disassemble the damaged figure using its manual; inspect the full base and frame before ordering only the visibly broken piece.
Photograph the model label and damaged part from both sides.
Find its letter or number in the assembly diagram; note left versus right.
Ask SVI Service about the exact replacement and any applicable purchase support before buying aftermarket parts.
Elbow clip or arm connector
Check the clip, mating socket and retaining pin. A replacement clip alone may not solve a cracked socket. Use the manual’s part letter and identify which arm when requesting parts.
Neck bracket or head connection
Photograph the bracket and its fastening points. Check the head’s wires for pinching or pulling during the fall; keep power disconnected if wiring is damaged.
Shoulder insert
Identify the side and model year. Compare the connection shape with the supplier’s photos before ordering. Keep any loose fragments to help identify the failed piece.
Ankle, knee or bent base
Inspect the supporting poles and base as well as the outer joint. Stop using a visibly bent or cracked support. Request the affected assembly; glue or plastic welding is not our default fix for a structural joint.
The owner guide points to SkellyParts for head and arm brackets and Mellos Designs for shoulder inserts and ankle/knee reinforcement. Treat those as leads to check with the seller for your exact model. We have no reader-discount arrangement with these sellers.
Pack it so next season starts easily.
FROM CHRIS’S GARAGE
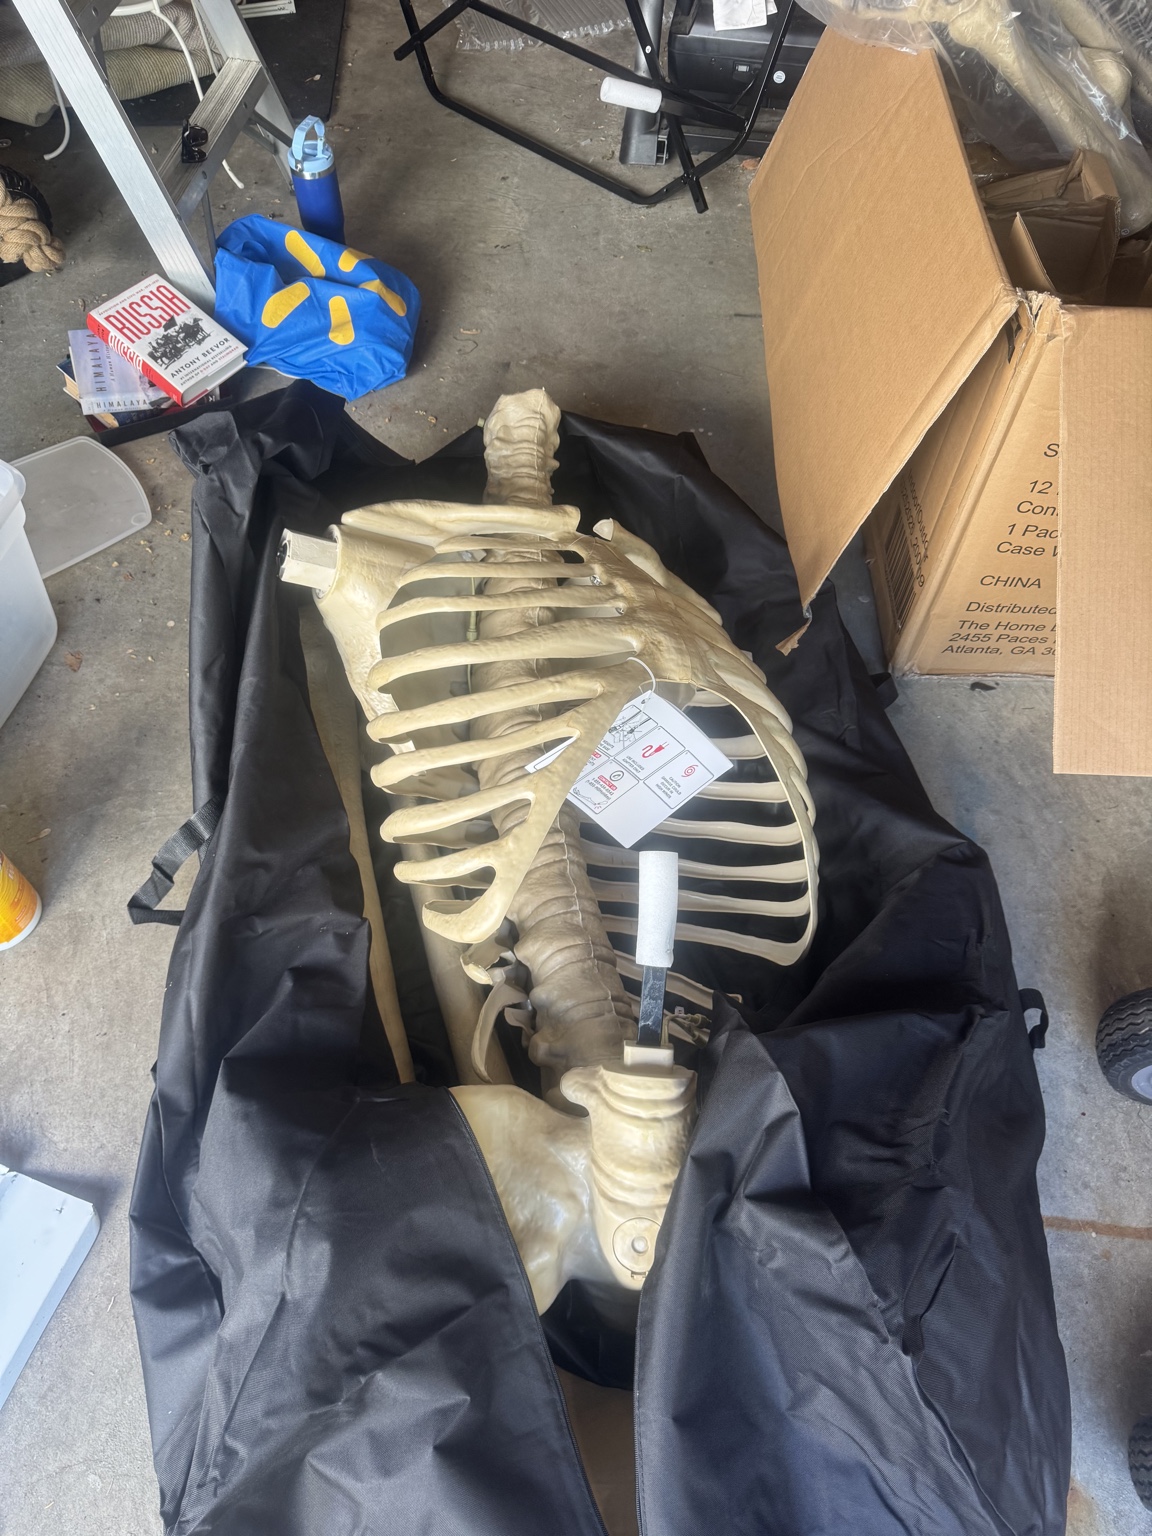
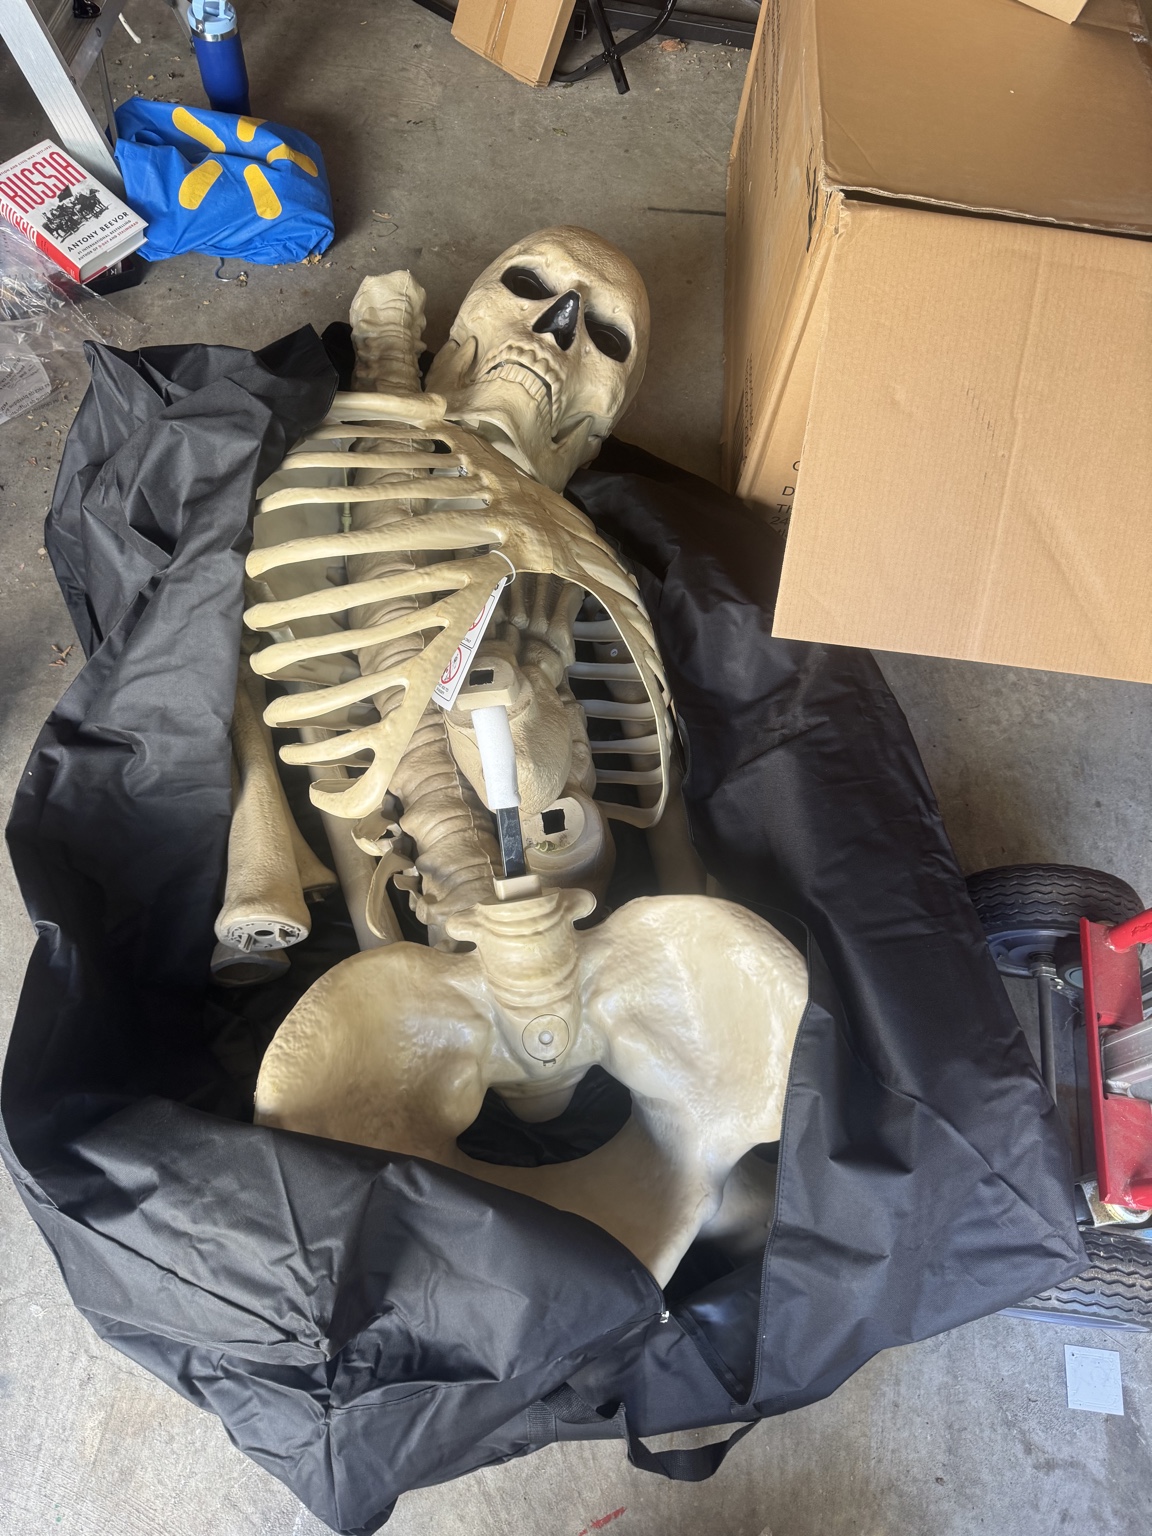
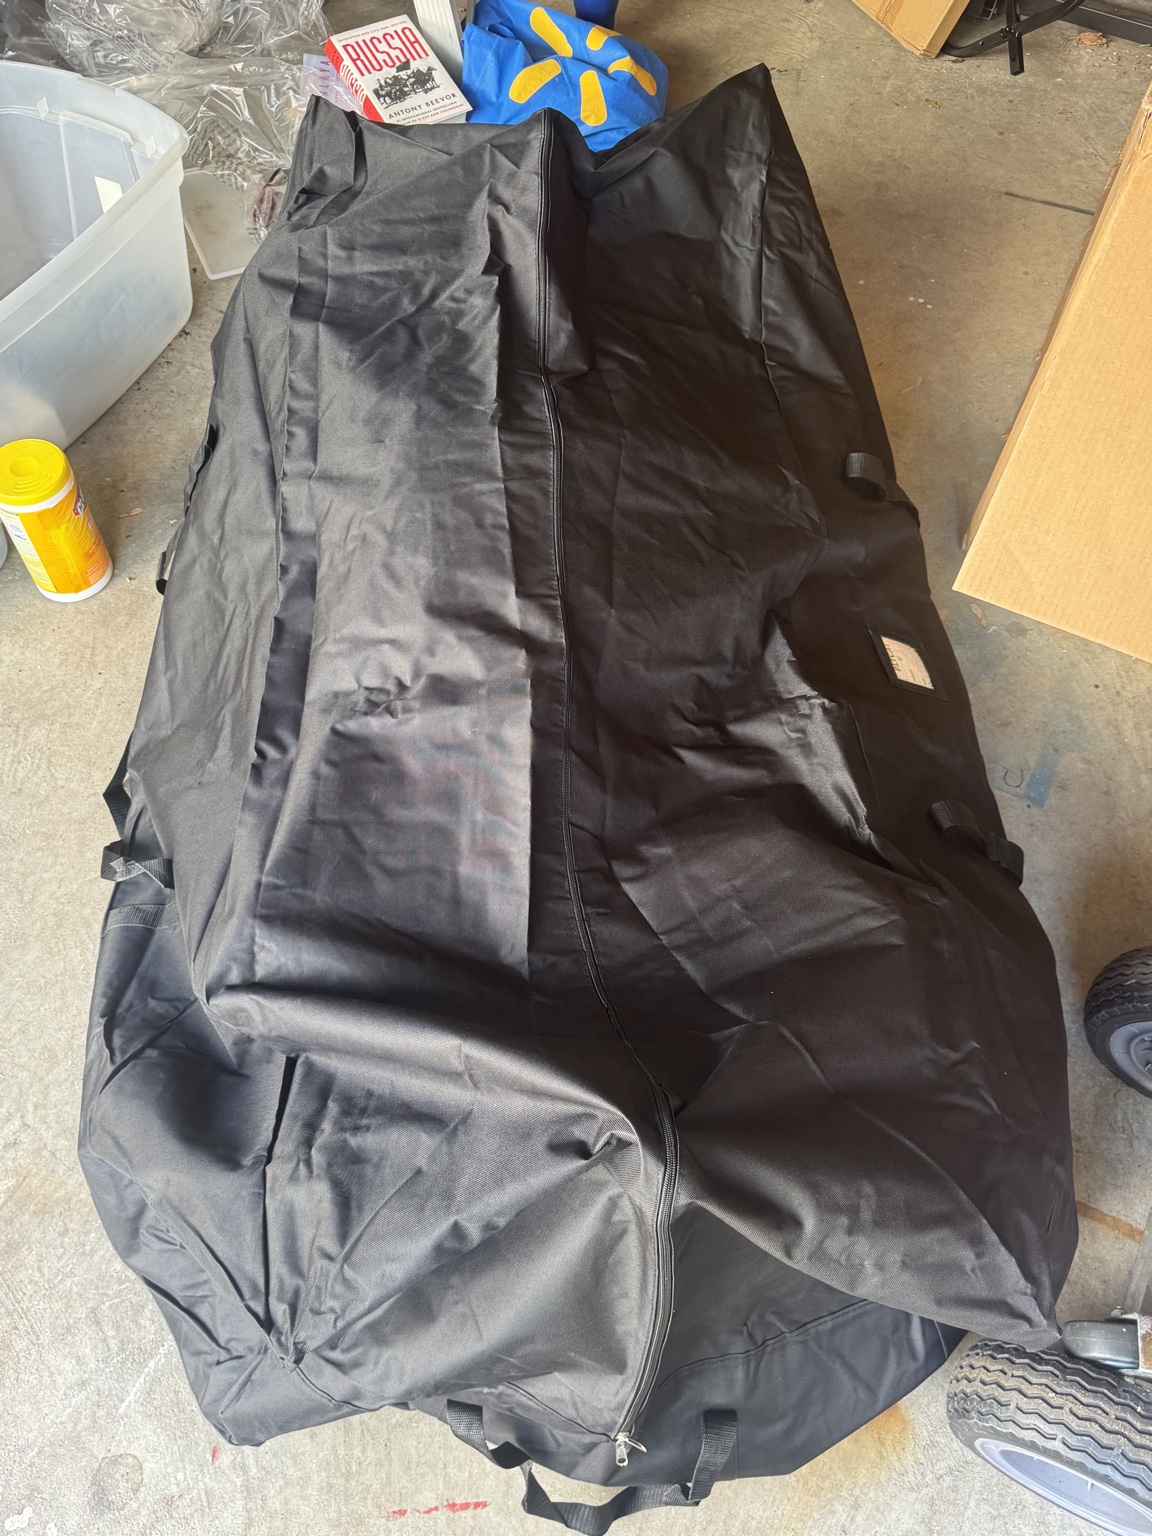
From a box of bones to zipped up.
Our Skelly’s first packing photos: the bulky torso, the head and body pieces together, and the bag zipped closed.
01 Torso in the open bag02 Head and body pieces together03 Zipped closed
Original photos: Chris McGuire · September 2026. Select a photo for the full-size view.
This documents one packing session. The bag’s brand and model have not yet been confirmed, so these photos do not establish a fit for either product listed below.
A packing checklist for taking Skelly to a shoot.
Measure before buying a bag. Check the largest disassembled pieces against the bag opening and usable interior, then check your vehicle opening. A bag advertised for holiday decorations is not a confirmed fit for every Skelly model.
Plan separate protection. Keep the head and delicate or electronic parts padded and away from metal poles, the base and tools. Retain fitted protective packaging where useful; do not force pieces into a bag.
Keep hardware together. Label a small parts organizer by assembly step and pack the model instructions with it. Photograph connections before disassembly.
Make loading manageable. Consider several manageable containers rather than one overfilled bag. Check bag weight limits and secure the containers in the vehicle so parts cannot shift or be crushed.
Pack dry. Follow the model instructions for takedown, cleaning and storage, and let damp components dry before closing them away.
Use this checklist when planning transport; our packing photos do not assess long-term durability or repeated trips.
Photograph connections during takedown. Bag or compartmentalize fasteners by assembly step, label everything with the model, and keep the instructions with the parts. Clean and dry components as directed before storage.
Wrap delicate pieces separately. Keep cable, anchors and tools together in an accessory bin so they cannot press against LCD eyes, wiring or moving assemblies. Retain the original protective packaging for large and fragile components where practical.
PINS, CLIPS & SCREWS
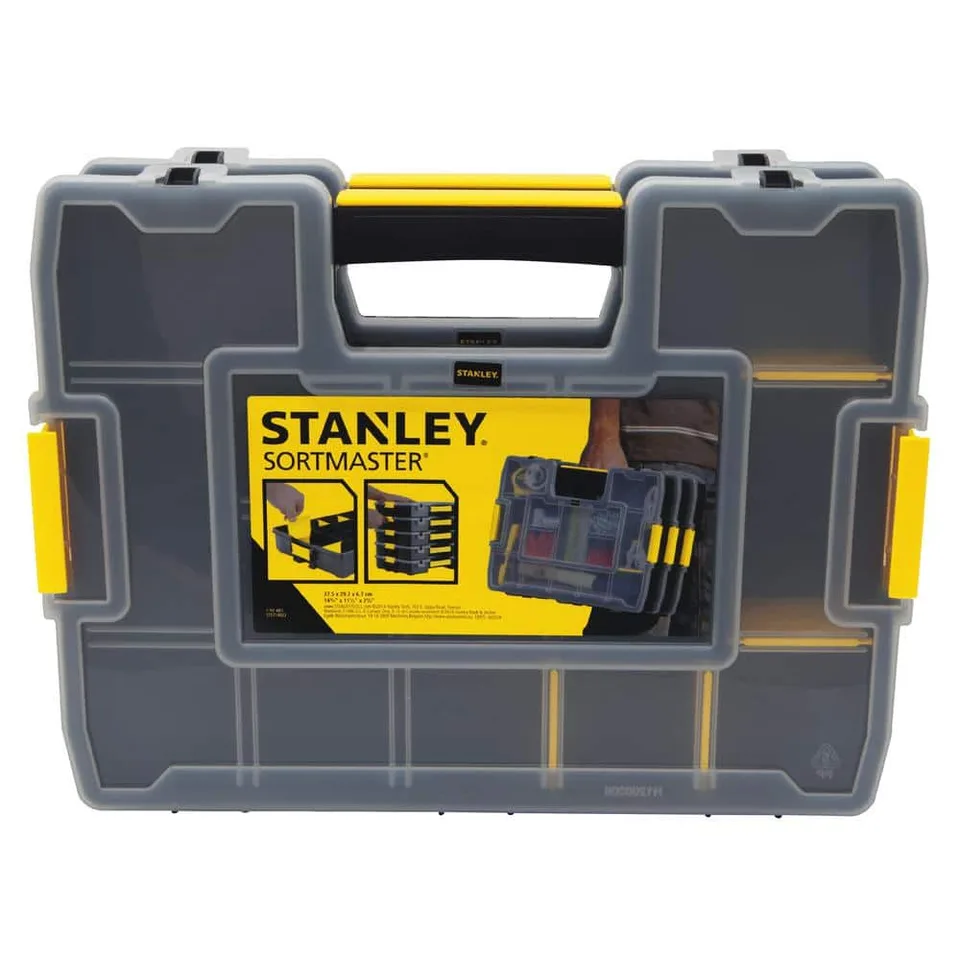
Stanley SortMaster Junior organizer
14-compartment organizer · removable dividers · clear lid
Why consider it: Keep each model’s screws, pins and small clips separated by assembly step. Adjustable dividers help accommodate different part sizes.
Before buying: Label compartments with the model and manual part letter. Measure larger brackets before assuming they fit.
Model STST14022 · Photo and listed specifications: The Home Depot specifications; exact-model Amazon search.
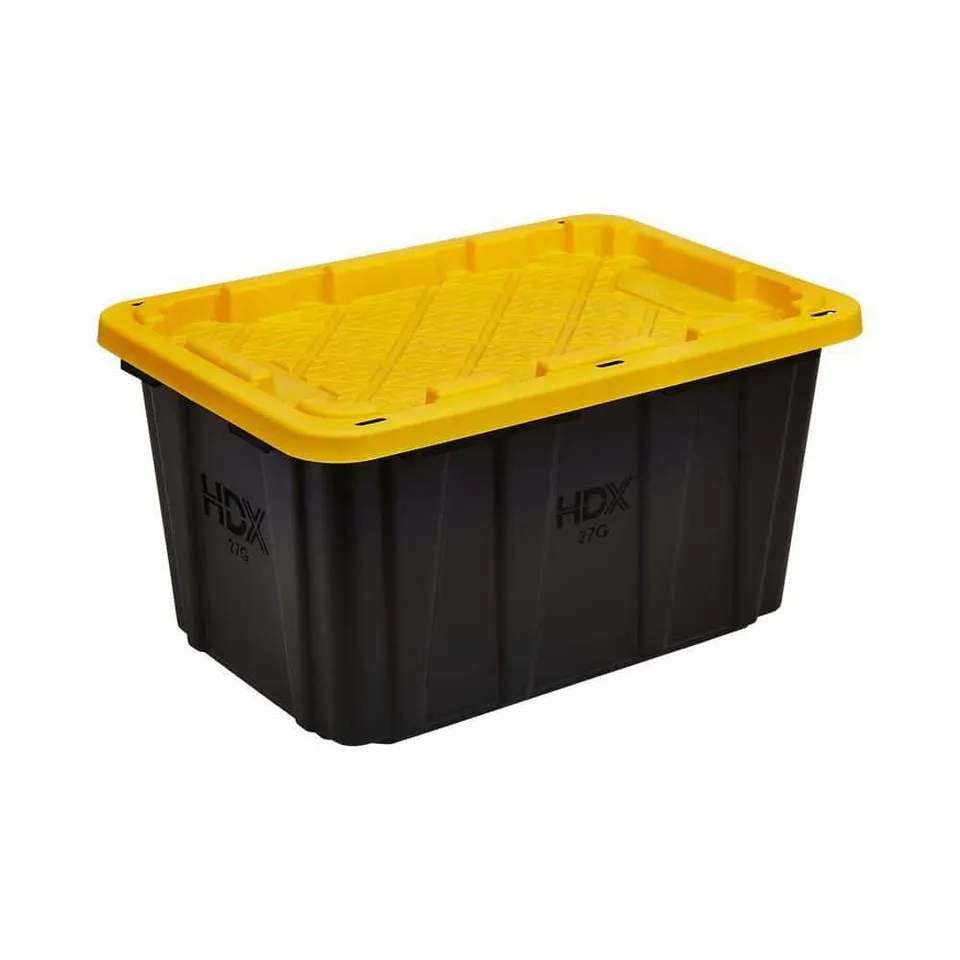
27-gallon capacity · snap-fit lid · black and yellow
Why consider it: A practical bin for dry support lines, tools and separately wrapped accessories. Keep the smaller parts organizer with the same display supplies.
Before buying: This is for accessories, not a claim that a complete disassembled Skelly fits. Check internal measurements and keep heavy hardware away from eyes and electronics.
Model 999-27G-HDX · Photo and listed specifications: The Home Depot.
Amazon alternative: STOWIX BLACK & YELLOW 27-gallon bins · 2-pack. Two 27-gallon bins with snap-on lids. Different brand and pack size from the HDX tote shown; compare internal dimensions for your accessories.
Original owner packing photos added September 15, 2026. They show one packing session, not a verified fit for the two listed bag models or a durability assessment. The setup and repair research was checked September 10, 2026; we have not performed wind-load tests or documented a hands-on repair. Model identities and product specifications come from the linked retailer listings. The four-line method and aftermarket supplier leads come from Twelve Foot Skeleton & Friends; it is community advice, not approval for both models. Follow your model’s manual and confirm any supplemental attachments with its manufacturer.
Join the email list for Halloween finds and NJ + NYC outing ideas, with a focus on Monmouth and Ocean counties. Email delivery is not active yet; your signup reserves a place on the list.